Six In Seoul
  • Our Life in Seoul Take 3
  • Our Life in Seoul, Take 2
  • 2015 Project 365
  • Project 365
  • Moving to Korea?
  • Six in the Hood
  • Seoul, 4/2008 - 4/2010
    • Flower Arrangements
    • Our second month here.....
    • Our first month here, 4/08
    • Flat Stanley
  • The Whole 30

Gluten Free Chocolate Chip Blondies

10/11/2013

1 Comment

 
Shut the front door.
Picture
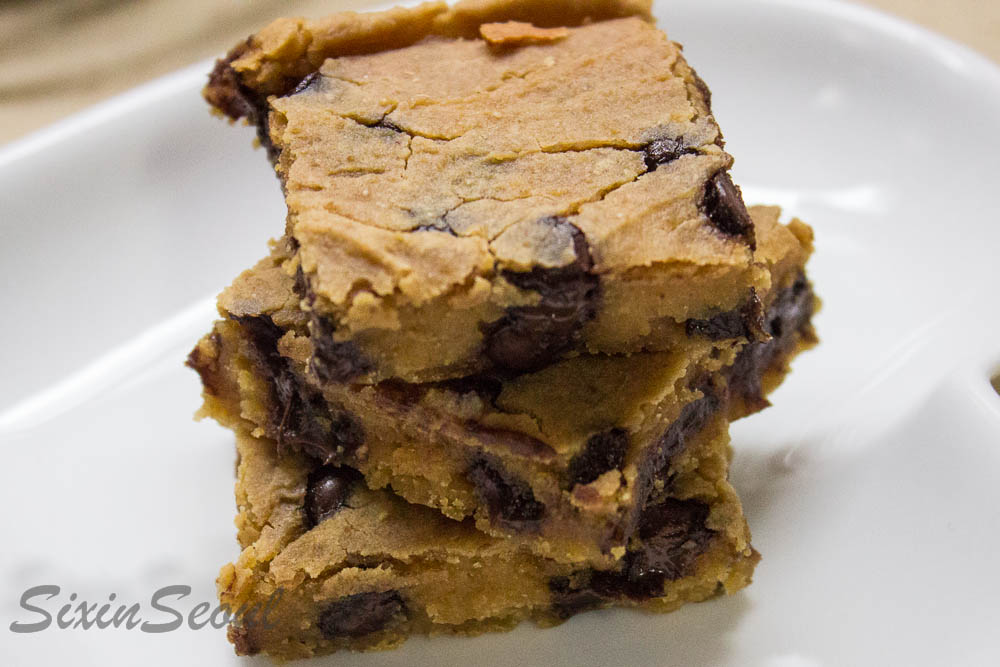
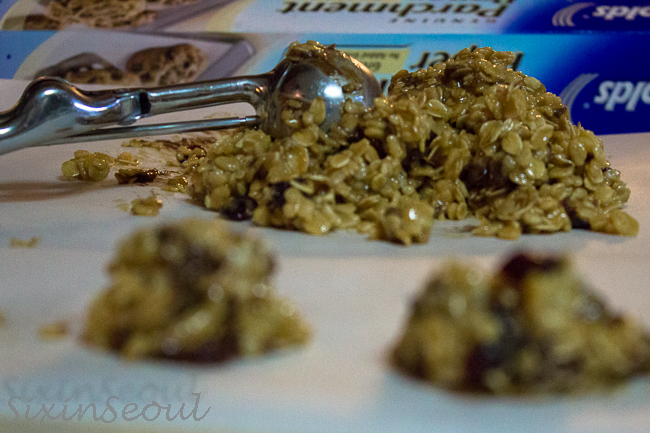
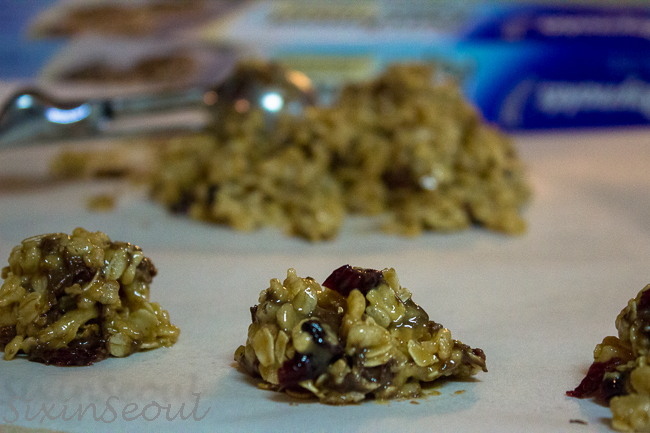
Don't they look delicious?
I thought they were.
I was eating dough straight from the bowl.
At this point I knew they were going to be a hit.
I was also fairly certain NOT ONE SINGLE PERSON would guess the 'secret' ingredient.
AND
I was right.
No one guessed - well, no one except my friend Amber who is a pro at healthy eating and a pro at sneaking good for you stuff into food - and then it was only a guess.

Every last cookie was gone in NO TIME flat.

Here are the tally's from my house:
4 loved them and ask no questions.
2 thought they were just OK.
1 did not like them at all. 
(Yes, that does equal 7.  Yes, I do know how to count.  Grammy is visiting from the states!!)
Can you guess who didn't like them?  That's right, the one I made them for.  The one we are fearful is gluten intolerant.  She would have nothing to do with them.  In fact, she spit them out.  WHO DOES THAT?!?

Tally from Amber's house:
Totally WIN all the way around!
6 for 6 baby.
I got the original recipe here.  I modified it a bit to make it a little more sweet...
Next time I am going to double the recipe.

What you need:
Parchment paper
1 can chickpeas, rinsed and drained - that's right, I said CHICKPEAS!!
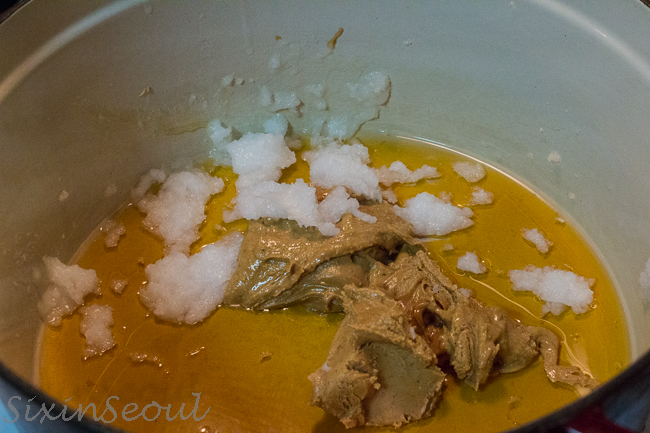
1/2 cup natural peanut butter
1/2 + 1 TBL maple syrup
2 tsp vanilla
1/2 tsp salt
1/4 tsp baking powder
1/4 tsp baking soda
1/2 cup chocolate chips

Preheat oven to 350

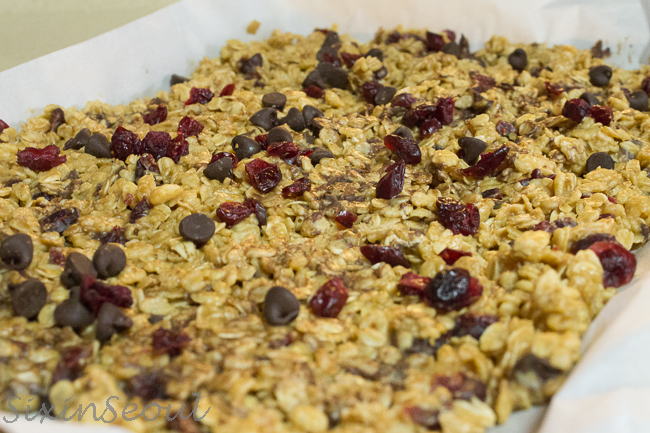
Line 8x8 pan with parchment paper (Or you can use cooking spray, but I don't like that stuff.)

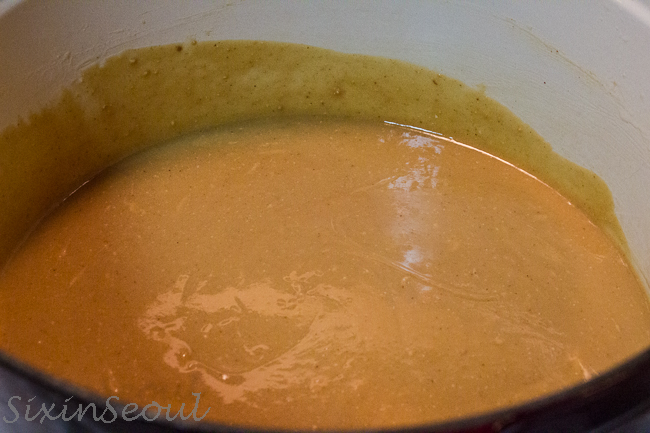
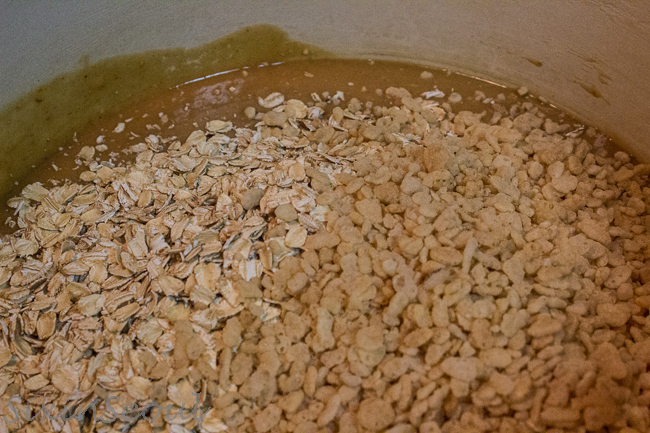
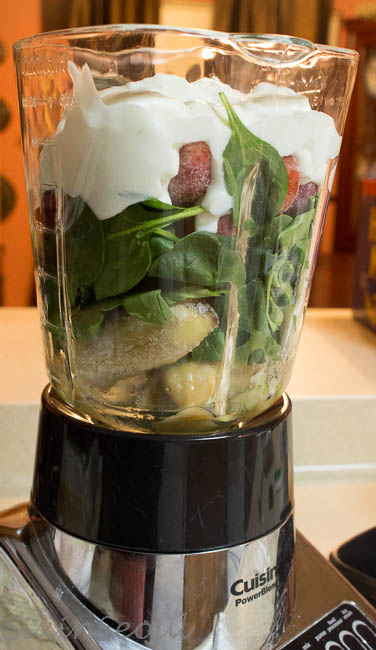
Toss all ingredients except chocolate chips in food process or (or vitamix) and blend those babies up!  It took me all of about 1 minute to complete this part from start to finish!

Once all your ingredients are mixed well fold in chocolate chips.

Bake for 25 minutes  - edges will be slightly brown and it will look undercooked.  Go with it anyway.

Cool on a wire rack for 15-20 minutes.

While they are cooling sprinkle a little sea salt on top for a little sweet/salty blend.  I totally forgot to do this part, but I imagine it adds a whole new beautiful element to the blondie.  If you forget, don't worry, they are delicious the way they are.

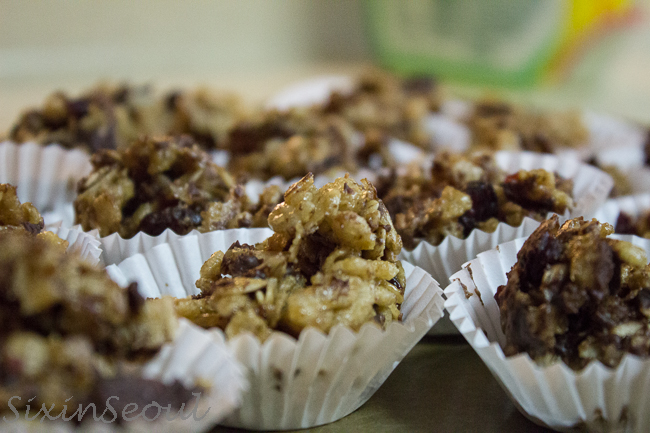
Cut with a plastic knife (these have the consistency of a fudgie type brownie)

Don't tell anyone the ingredients and serve for dessert.

1 Comment

Nut Butter Granola Balls

7/23/2013

2 Comments

 
So after my Whole 30 venture I have been a little more concerned about what goes in my body....but with that being said I'm not a super freak -- yet.  :o)  I still LOVE dessert and salty things, I'm just being a little more cautious about what is giong in, especially since I'm trying to become a runner (when does the switch actually flip and one owns it and says "I am a runner"?  I'm still waiting for that day).   So one day about a month ago I was searching for a better alternative to my typical type dessert, Texas Sheet Cake, when I ran across this Martha Stewart recipe and thought I would give it a whirl!  I adapted it just a tad and I am pleased to announce that it is a winner in my book!  Even the kids love these, but really, who wouldn't?

1/3 cup honey
1/4 cup natural peanut butter, almond butter or sun butter  (I've tried it with all flavors and peanut is our family favorite, even though they are all good!)
2 tablespoons coconut oil
1 cup crisp rice cereal
1 cup old-fashioned rolled oats
1/4 cup dried cranberries, cherries or other dried fruit you love  :o)
1/4 cup chocolate chips (I use dark)

In a small saucepan over medium, heat honey, nut butter of choice, and coconut oil. Stir until smooth. Remove from heat; stir in cereal, oats, and dried fruit.  Let sit for about 5-10 minutes and add chocolate chips.
Picture
Picture
Picture
I used a small melon baller to drop the mixture onto a cookie sheet lined with parchment paper the first time, then I made bars the second time and the third time I used mini muffin tins which is what Martha suggested in the first place.  I totally should have listened to her because that was the best way to do it. 

Once you pick which way you are going to drop them, pop them in the fridge for about 15 minutes to let them firm up a bit....actually, just leave them in the fridge and when you need a littel something just pop one in your mouth.
Round 1
Just dropping them with a melon baller.
I couldn't decide which picture I like better, so I'm showing you both of them.  :o)
Picture
Picture
Round 2
I made them into bars.
They are not stiff enough to make bars out of.
They fall apart when you cut them, but aren't they pretty?
Bars win for beauty.
Picture
Round 3
Winner, winner chicken dinner!
The little muffin tins were the best way to go!
Picture
Happy eating!
2 Comments

Fried Plantains

5/28/2013

7 Comments

 
Seriously easy.
Seriously good.
Picture
Coat pan with coconut oil.
Fry sliced plantains for about 2 minutes on each side.
EAT.

GREAT for an after school snack!

**Next time I am going to try sprinkling a little cinnamon on the plantains before frying.
7 Comments

Homemade Caramel Popcorn

2/1/2013

2 Comments

 
Hubby is so in love with caramel popcorn from the Korean movie theaters that it inspired me to try my hand at it.    And check it out!
It was as good as it looks.
Picture
1 cup popping corn
1/4 cup canola oil

Put oil in large stock pot and heat over medium high heat - add popcorn - put lid on stock pot and let it pop!  Just like in the microwave just listen for the popping.  Sometimes I shake the pan for effect - you know like you do the old school Jiffy Popping pans.  When the popping slows to almost none pull the pan off the stove top. 

***If you are making regular popcorn, this is the time to add all that crap that makes it bad for you - melted butter and those yummy popcorn seasonings.  Butter and White Cheddar are our favorite seasonings.  We have fresh popcorn at least once a week.

To make it YUMMY, DELICIOUS, CARAMEL POPCORN do this:

Put the popcorn in 2 large bowls with extra room. 
Set aside.

Line 2 large cookie sheets with parchment paper.
Set aside.

Preheat oven to 250 degrees F.

In medium size saucepan bring these ingredients to a boil:

1/2 cup butter
1 cup brown sugar
1/2 cup corn syrup - dark or light whichever you prefer.  I had a little of white and borrowed a little dark from a neighbor!

After bringing them to a boil let it simmer for about 2-3 minutes.

Remove from heat and add:

1/2 tsp vanilla
1/2 tsp baking soda 

Stir well...it will get a little thicker and change colors.
 
Pour immediately over popcorn and mix to coat popcorn.

Once popcorn is coated properly coated pour onto cookie sheets - spreading out.

Bake in oven for 1 hour - mixing popcorn every 15 minutes.

If you don't bake it you will have ultra chewy caramel corn that sticks to your teeth, so don't skip the baking step.

This may take a while, but it is TOTALLY worth it.
Hubby said it was better than Megabox. 
Bam! That's what I'm talking about!
2 Comments

Chicken Cutlets - A Household Favorite!

1/30/2013

4 Comments

 
We have them for lunch, we have them for dinner, we have them for snack.  Heck, we have even been known to have a cold one for breakfast.

Chicken cutlets ROCK and they freeze well.
I use them has homemade chicken nuggets.
Much better than that frozen crap you buy in the freezer section.

This is one thing every single person in our family will eat without complaint.
The only time they complain is when I don't make mashed potatoes and gravy to go with it.

OK.  Let's get started - what you will need:

(This is one of those recipes where I am guessing at the measurements!)

4-6 Boneless skinless chicken breast - sliced thin lengthwise (you can buy the thin sliced chicken breast or tenders, but I feel they are too expensive so I cut them thin myself.)
Your favorite paprika (I use smoked - thanks for sending it to me Lara!)
Salt
Pepper
2-3 cups of flour
3-4 cups of your favorite bread crumbs
3-4 eggs
2-4 cups of vegetable oil

Slice your chicken breast lengthwise into 3 pieces and then pound the heck out of them with a meat mallet. (OK...maybe not the heck out of them, but pound them enough to help make them a little more tender:)
When tenderizing place a sheet of plastic wrap over of the chicken to keep chicken juice from splattering all over you.
Picture
Sprinkle with a little salt, pepper and paprika.
Picture
Put flour, eggs & bread crumbs in separate dishes.
Scramble eggs.
Dredge chicken in flour.
Dip chicken in egg then coat with bread crumbs.
Picture
Over medium high heat, heat enough oil in frying pan to almost cover the cutlets.
To make sure oil is hot enough drop a little flour into pan, if it sizzles you are good to go. 
Add chicken one layer at a time like this:
Picture
Fry for about 2 minutes on each side until golden brown.
Picture
Cut them up into bite size pieces for you kids to eat as an after school snack.
Picture
** Sure you can cut the chicken up into bite size pieces in the beginning so that all pieces of the chicken is coated, but I feel that takes too long and my kids are just as happy to have chicken nuggets with a little chicken showing.  Sometimes when I have enough time I do it the right way, but not today.  :o)

To freeze: I let them cool first then I flash freeze them - I put them on a cookie sheet in a single layer, pop them in the freezer for 10 minutes and then put into a Ziploc bag to freeze.
(Flash freezing helps prevent things from sticking together.)
4 Comments

Krispy Kreme!  City Hall

1/19/2013

0 Comments

 
Sometimes when walking in Seoul you will see something that reminds you so much of home that your feet just take control of your body and force you to go in.  That is what happened when Hubby and I were out on our date the other day.  After the museum we were in search of lunch when Krispy Kreme started singing our names.  It was like a beacon in the night.  There was absolutely no reason to fight it so we followed that beacon and it led us straight to this:  
Picture
It has been a long time since I have had a fresh Krispy Kreme.  However as you can see Korean Krispy Kreme stores are a little different than those in the states. There is no place to watch the donuts being made....they don't have fresh donuts coming off the conveyer belt but they do have quite the variety of donuts.
Picture
After you place your order you are given a buzzer.  We ordered 3 donuts and 2 coffees - it cost about $11 USD and WORTH.EVERY.PENNY.
Picture
Tiramisu donut... 
Picture
Café Hazelnut donut...
Picture
But the best donut by far was the plain ol' glazed Krispy Kreme.  It was so go we ordered a dozen to take home to the kids for afterschool snack.  (And for the cab  ride home!)

Do you need a Krispy Kreme fix?
Directions:
Line 2 to City Hall Station exit 4
1st street take a right.
There will be tons of restaurants on your left.
Go to the 1st intersection and Krispy Kreme will be on the left side of the street - across the street.
0 Comments

Green Machine Smoothies

1/16/2013

6 Comments

 
We are going to be talking about breakfast A LOT over the next couple of weeks.  Why you ask?
1 - We love breakfast around here.
2. - My kids are spoiled and they will say things like - "But we had breakfast pita pockets last week."
3. - I've had several friends freak out over the fact that I serve a different breakfast each day as they can't fathom that there are that many different things to cook for breakfast and that I actually have time to cook breakfast in the morning. (Remember I am a morning person!)
4. - It is FREAKING cold outside and I don't have anything else to write about.  I'm not one to shy  away from the cold, I would typically go out and roam the streets of Seoul, but I'm tired of the cold and snow. (I know I still have a long way to go as it is only mid-January.)   We considered going to the ice festival this weekend, doing a little ice fishing and jumping in FREEZING cold water and stuffing a fish down our shirts (what a GREAT post that would be!) - but in the end I decided I'm not brave enough for that this year (I think the others are secretly happy about this decision too).  Maybe next year.  It will be something to look forward to....right?  

                                                                             Green Machine Smoothies
Picture
I really should have put these glasses on something else....this brown table kind of ruins the photo...
My kids LOVE smoothies. Love, love, love them. 
I make yogurt based smoothies most of the time.
My smoothies are always different depending on what is in the freezer.
And it is always a guessing game.
The kids like to taste and guess what is in the smoothie.
When they saw this smoothie they guessed: kiwi and green grapes.
When they tasted it they guessed bananas, strawberries and green food coloring.
What would you guess just by looking at the picture?
|
|
|
|
Don't peek....
|
|
|
|
|
Give up?
|
|
|
|
|
|
Did you guess spinach?
If you did you are correct!!
There is always spinach in my smoothies. 
Why you ask?  Because I have a little bit of an evil streak, really I do and if I can't use it for good (tricking my kids for their health) then things could turn ugly. Real fast. Plus it makes me feel like I am one upping them.  
AND they LOVE Green Machine Smoothies.
At this point in their lives they KNOW that mom slips good for them stuff in their food all the time (and they are good with it).  They even enjoy tricking their friends into eating 'good for them stuff' without knowing it. 
And really, you can't taste the spinach in the smoothies even when you put 2 cups of spinach in it!   True story.  Just ask my kids.

This is what you need to make a Green Machine Smoothie:
Picture
1 blender
2 cups of baby spinach
16 oz of yogurt (I use French Vanilla)
2 frozen bananas
1 cup frozen strawberries
1/4 - 1/2 cup power-c-machine Naked drink

Put all ingredients in a blender with frozen bananas & strawberries on the bottom and blend like crazy until you have no more lumps or flakes of spinach floating around.
Picture
A few side notes:
- I always freeze fruit that is on the verge of going bad. I just stick them in a Ziploc bag and toss in the freezer.  If you are freezing bananas always peel them first.  Frozen fruit is great for tossing in smoothies.
- When making the Green Machine Smoothie you can use orange juice instead of the Naked drink if you would like.  The coloring will still be green.  IF you use a red juice your smoothie will turn brown.
- If you think your kids will freak out about the 'green' smoothie start with only 1/2 a cup of spinach and then gradually add more each time you make it.
- It is not a requirement to tell your children what makes it green.  You can just keep them guessing.  When they ask 'what makes it green' you can respond with, 'well what are some green foods you can think of?'  You never have to fess up until they are an adult.  They can just keep on thinking it is green food coloring, or kiwi.  :o)

Happy Thursday!
6 Comments
    “I've learned that people will forget what you said, people will forget what you 
    did, but people will never forget how you made them feel.”   
    ―     Maya Angelou
    Picture

    Author

    Hi, I'm Trish, the writer, creator and photographer of this blog.  I started this blog for 2 reasons, 1 - When I found out we were moving to Korea back in 2008 I was a little freaked out and started scouring the internet for information on Korea. At that time there wasn't much out there so I am doing my part in helping families across the world not be so freaked out when it comes time to move to Korea.  The 2nd reason I started this blog was to help stay connected to family members back in the states.  Today it is so much more that.
    I hope you enjoy our journey.

    Are you moving to Korea?  Do you have questions, concerns?  Are you freaking out?   Freak out no further -  click the button to ask a question.  I'll do my best to answer open and honestly.
    Moving to Korea?

    Blogs I Follow:

    Archives

    October 2014
    June 2014
    May 2014
    April 2014
    March 2014
    February 2014
    January 2014
    December 2013
    November 2013
    October 2013
    September 2013
    August 2013
    July 2013
    June 2013
    May 2013
    April 2013
    March 2013
    February 2013
    January 2013
    December 2012
    November 2012
    October 2012
    September 2012
    August 2012
    July 2012
    June 2012

    Categories

    All
    After School Snack
    Bali
    Birthdays
    Bread
    Breakfast
    Cakes
    Cambodia
    Cat Cafe
    Chicken
    Chocolate
    City Hall Area
    Cocktails
    Coffee
    Cookies/bars
    Crockpot Meals
    Crockpot Meals
    Daily Life
    Date Night
    Day Trips
    Desserts
    Dog Cafe
    Dongdaemn
    Dr. Fish
    Family Favorite Foods
    French District
    Fun With Kids
    Gangnam
    Gluten Free
    Hannamdong
    Hannam Dong
    Hawaii
    Hiking In Seoul
    Holdiays
    Hondage
    Indian Food
    Itaewon Restaurants
    Itaewon Restaurants
    Italian/Pizza
    Italian/Pizza
    Jimjilbang
    Korean Food
    Korean Food
    Korean Holiday
    Lunch Box Menus
    Malaysia
    Memories
    Mexican Food
    Modeling
    Moving To Yongsan
    Moving To Yongsan
    Muffins
    Museums
    Myeongdong
    Not Quite Right
    Not Quite Right
    Our House
    Paleo
    Parties
    Pce
    Philippines
    Pies
    Pork
    Red Meat
    Red Meat
    Restaurants
    Right On The Rok
    Salad Dressing
    Salads
    Seafood
    Seorae Village
    Sheep Cafe
    Shellfish
    Shopping
    Side Dishes
    Sightseeing
    Singapore
    Sinsa Area
    Sinsa Area
    Soup
    Sporting Events
    Street Food
    Street Food
    Thai Food
    Theaters
    Tuesdays With Trish
    Vacations
    Vegetarian
    Weekend Getaways
    Where Is Trish43cc997645
    Whole30

    RSS Feed

Powered by Create your own unique website with customizable templates.